Operating Room Lights
Operating Room Lights
Have you ever heard of OT lights? Also known as surgical lights, OT lights are essential medical devices designed to illuminate the surgical site, providing optimal visibility of small, low-contrast objects at varying depths within an incision or body cavity. These lights are indispensable tools in any operating room, and healthcare professionals must be familiar with how they work. So, what is the operating principle behind these lights? Let’s explore the function, origin, and proper use of ceiling-mounted surgical lights.
OT Lights
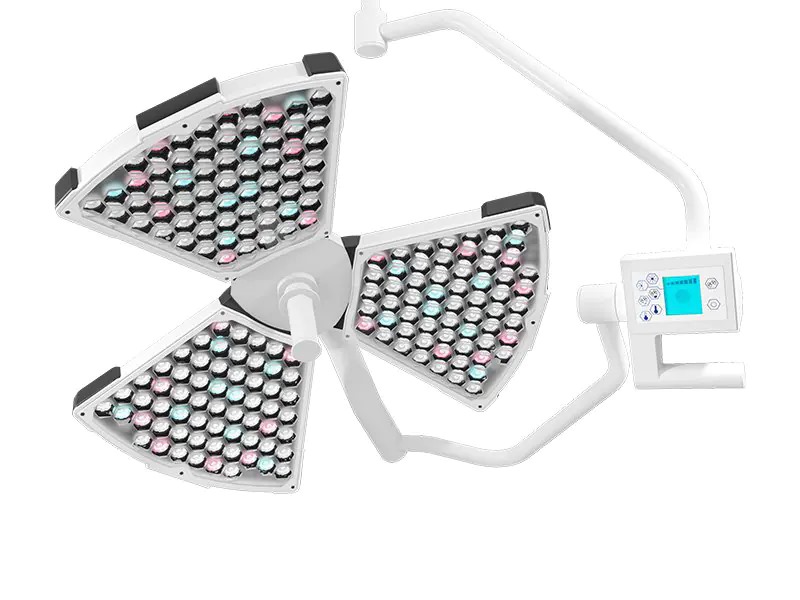
Working Principle of OT Lights
Imagine placing a cylindrical object, like a tea tube, on a table and lighting a candle next to it. The object casts a distinct shadow. Now, if you light two candles, overlapping shadows are created. The completely dark area with no light is called the umbra, while the area partially lit is known as the penumbra. Adding more light sources reduces the umbra, and the penumbra becomes less visible.
This principle also applies to OT lights. Larger light sources create smaller umbras. In OT lights, multiple high-intensity bulbs are arranged in a circular pattern, creating a large, even light source. This setup ensures that the surgical site is illuminated from various angles, reducing shadows to create what’s known as a shadowless OT light.
Function of OT Lights
OT, or operation theatre lights, are primarily used in hospitals during surgeries to provide consistent and shadow-free illumination. By minimizing color distortion and eliminating shadows, these lights reduce the risk of visual errors during surgery, ensuring smooth operation and clear visibility for the surgeon.
How to Use OT Lights
1. Wash your hands.
2. Wipe the OT light with a damp cloth (avoid chlorine-based disinfectants).
3. Ensure the suspension arms and connectors are flexible and stable.
4. Adjust the OT light to point at the surgical site, depending on the type of surgery.
5. Set the light to minimum brightness using the illumination adjustment switch.
6. Turn on the power switch and check that the light is functioning properly.
7. Turn off the light until the surgery begins.
8. Once the surgery starts, turn on the OT light and position it over the surgical field.
9. Adjust the brightness as needed for the procedure.
10. Monitor the light during the surgery and make adjustments as necessary.
11. After the surgery, reduce the brightness to the minimum and turn off the light.
12. Clean the light with a damp cloth after use.
13. Reposition the OT light to avoid blocking laminar flow ventilation.
14. Wash your hands and log the usage of the OT light.
Origin of OT Lights
The story goes that Thomas Edison’s mother required surgery, but there was insufficient lighting. Edison came up with a solution: he placed mirrors around the operating room and lit candles in the center, creating enough light without casting shadows. This idea later evolved into the concept of shadowless surgical lights.
Are you Interested in? Request a quote and a qualified representative will contact you as quickly as possible.